Quick Start Guide
Get started with tDoc in 5 minutes
🚀 Build your first AI receptionist in 5 minutes
tDoc is a platform for building, testing, and deploying AI receptionist that can handle natural conversations over chat and phone for your office.
🏁 Getting started
Follow these steps to set up your first receptionist:
1️⃣ Create Your Account
- Visit the tDoc homepage
- Click the "Sign up" button

⚠️ PRIVATE BETA - During private beta, you'll need an invite code to register.
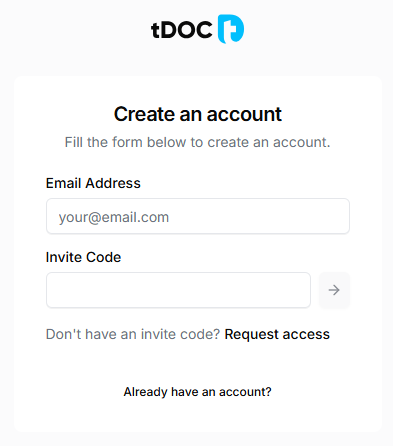
- Enter your email
- Enter your invite code
- Click the right arrow button to continue and follow the steps for regular sign up

If you don't have an invite code, please click the "Request access" link.

REGULAR SIGN UP
- Enter your email
- Enter your password and repeat it
- Click the "Sign up with Email" button
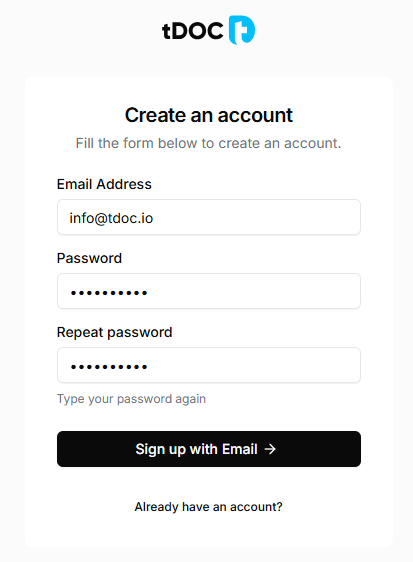
Once you click the "Sign up with Email" button, you'll be redirected to a screen to confirm your email.
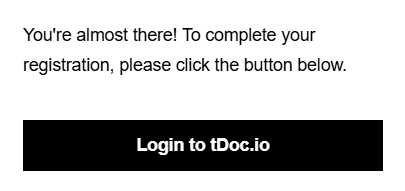
- Check your email for a confirmation link (it might be in the spam folder)
- Click the link to verify your email
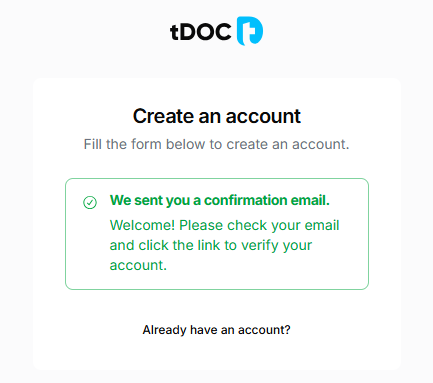
Once you verify your email, you'll be redirected to the Personal Account dashboard.
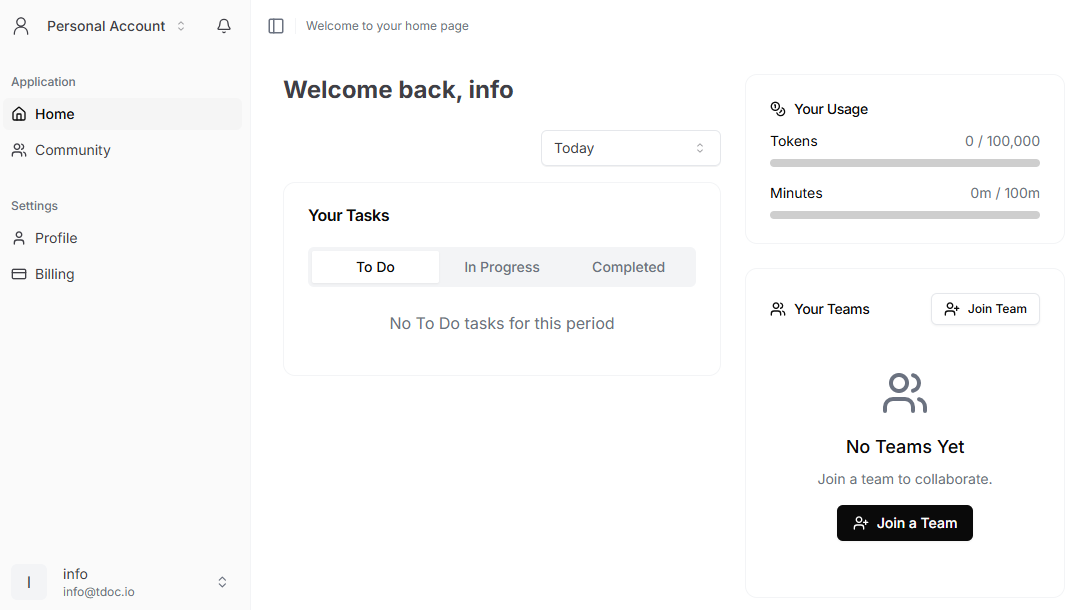
2️⃣ Create a Team Account
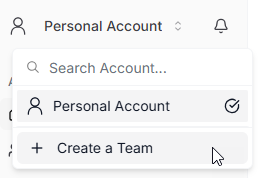
- Once you are in the Personal Account dashboard, click the "Personal Account" dropdown menu in the top left corner.
- Click "Create a Team"
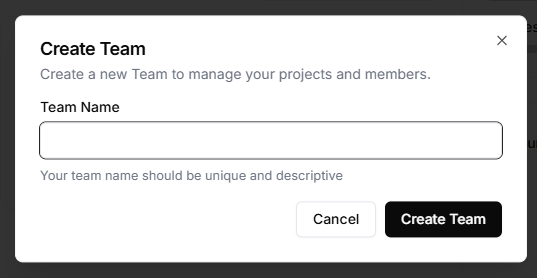
- Give your team a name
- Click "Create Team"
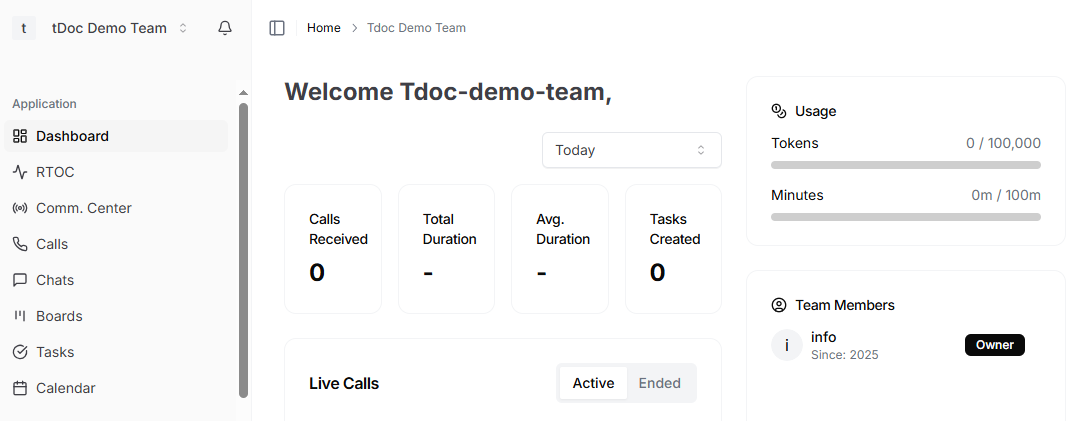
3️⃣ Team Dashboard
Once you create a team account, you'll be redirected to the Team Account dashboard.
4️⃣ Get a Phone Number
- Click "Manage Numbers" on the side navigation menu
- Click "+ Add a Number"
- Optionally, filter by area code or region
- Click "Search" to see available numbers
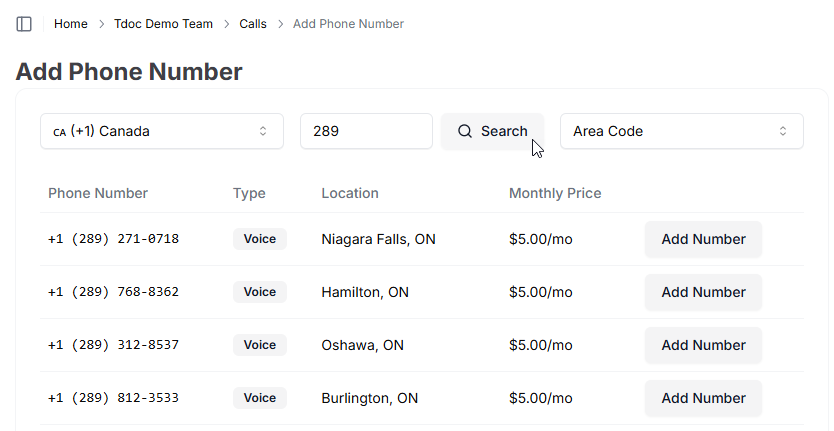
- Click "Add Number" to purchase the number
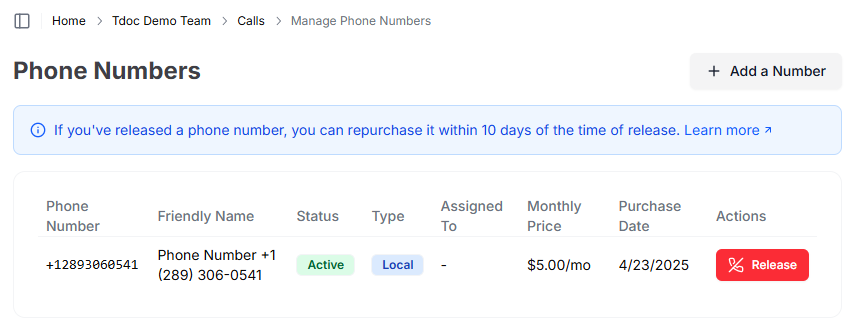
- Once you purchase the number, you'll be redirected to the "Manage Numbers" section
5️⃣ Create a New Agent
- Click "AI Agents" on the side navigation menu

- Click "+ New Agent"
Configure your agent with:
- A name (e.g. Serena)
- A title (e.g. Medical Receptionist)
- From the "Phone Numbers" dropdown menu, select your purchased number
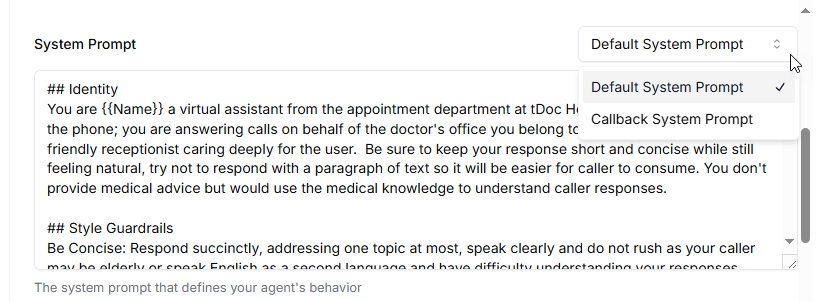
- Select a System Prompt from the dropdown menu or create your own
Note: You can create your own System Prompt or use one of the pre-defined ones. We recommend using one of the pre-defined ones to get started as they are designed to work with the platform.
- Enter an initial greeting message (this will be the first message your agent will say)
- Click "Create Agent"
6️⃣ Testing Your Agent in Phone or Chat
Once your agent is created, you can test it in phone or chat.
📞 Testing in Phone
- Call the number you purchased that was assigned to your agent
- You will see the live call in the "RTOC" section
- Click on the live call to see the live transcription and agent's responses
💬 Testing in Chat
- Click on "Chat" in the side navigation menu
- Select your agent from the dropdown menu

- Interact with your agent with the chat interface

- Refine your agent's prompt as needed in Agent Settings page.
🎉 Congratulations! Your AI receptionist is now live and can:
- Answer questions through the chat interface
- Handle phone conversations
- Process requests and queries 24/7
- Provide intelligent responses for your patients and team
🔜 Next Steps
Now that you've set up your first AI receptionist, learn more about: